

Diagram
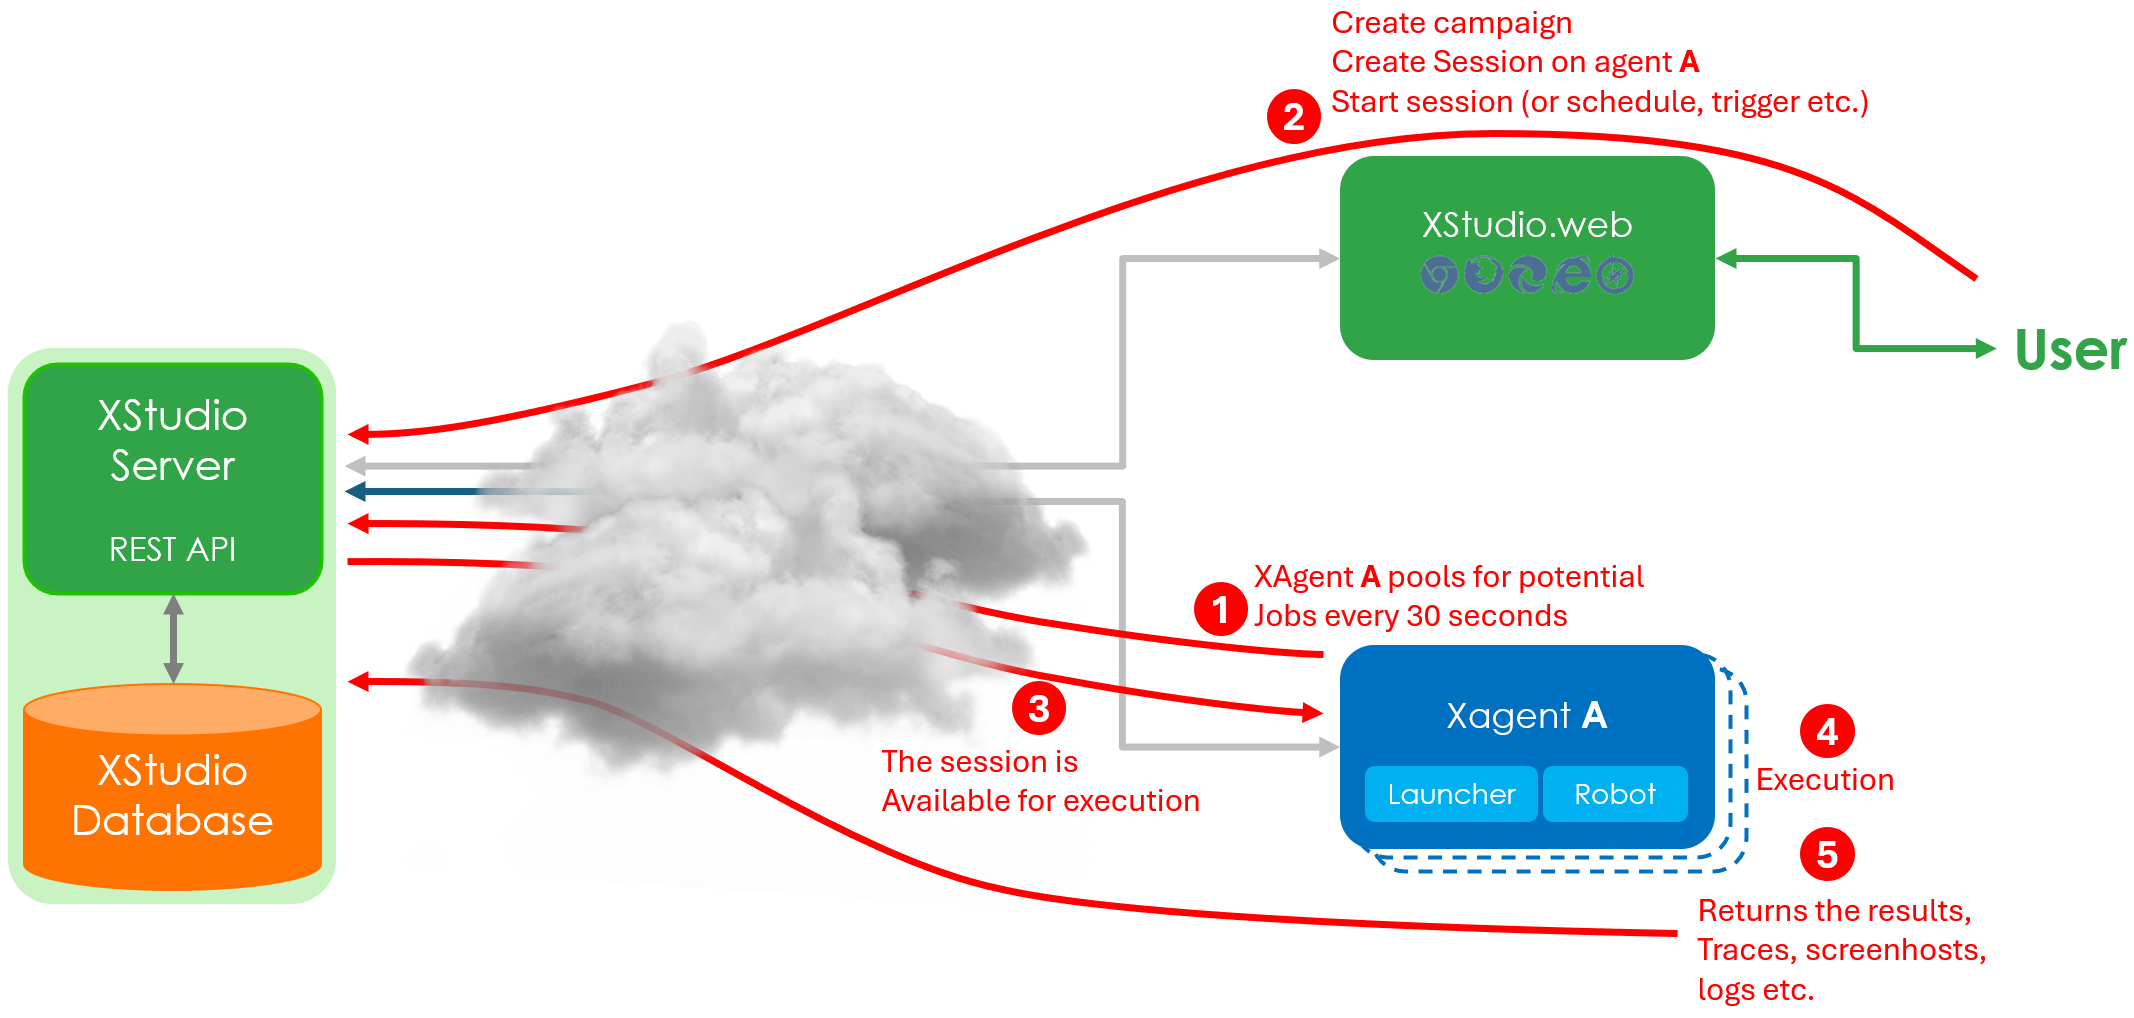
Here is a diagram illustrating how automated tests are executed on agents and how results, traces, screenshots, logs, etc., are reported in XStudio.Check the rest of the document to learn how to set all this up.
Select an automation framework
Choosing the appropriate automation framework depends on your product and its technology.Various options are likely to be at your disposal, and you must carefully select the one that aligns with your needs, taking into consideration factors such as licensing, cost, reputation, stability, and support.
Develop your tests
Next, you will need to automate a few tests using that framework to determine if it meets your requirements.Reference your tests in XStudio
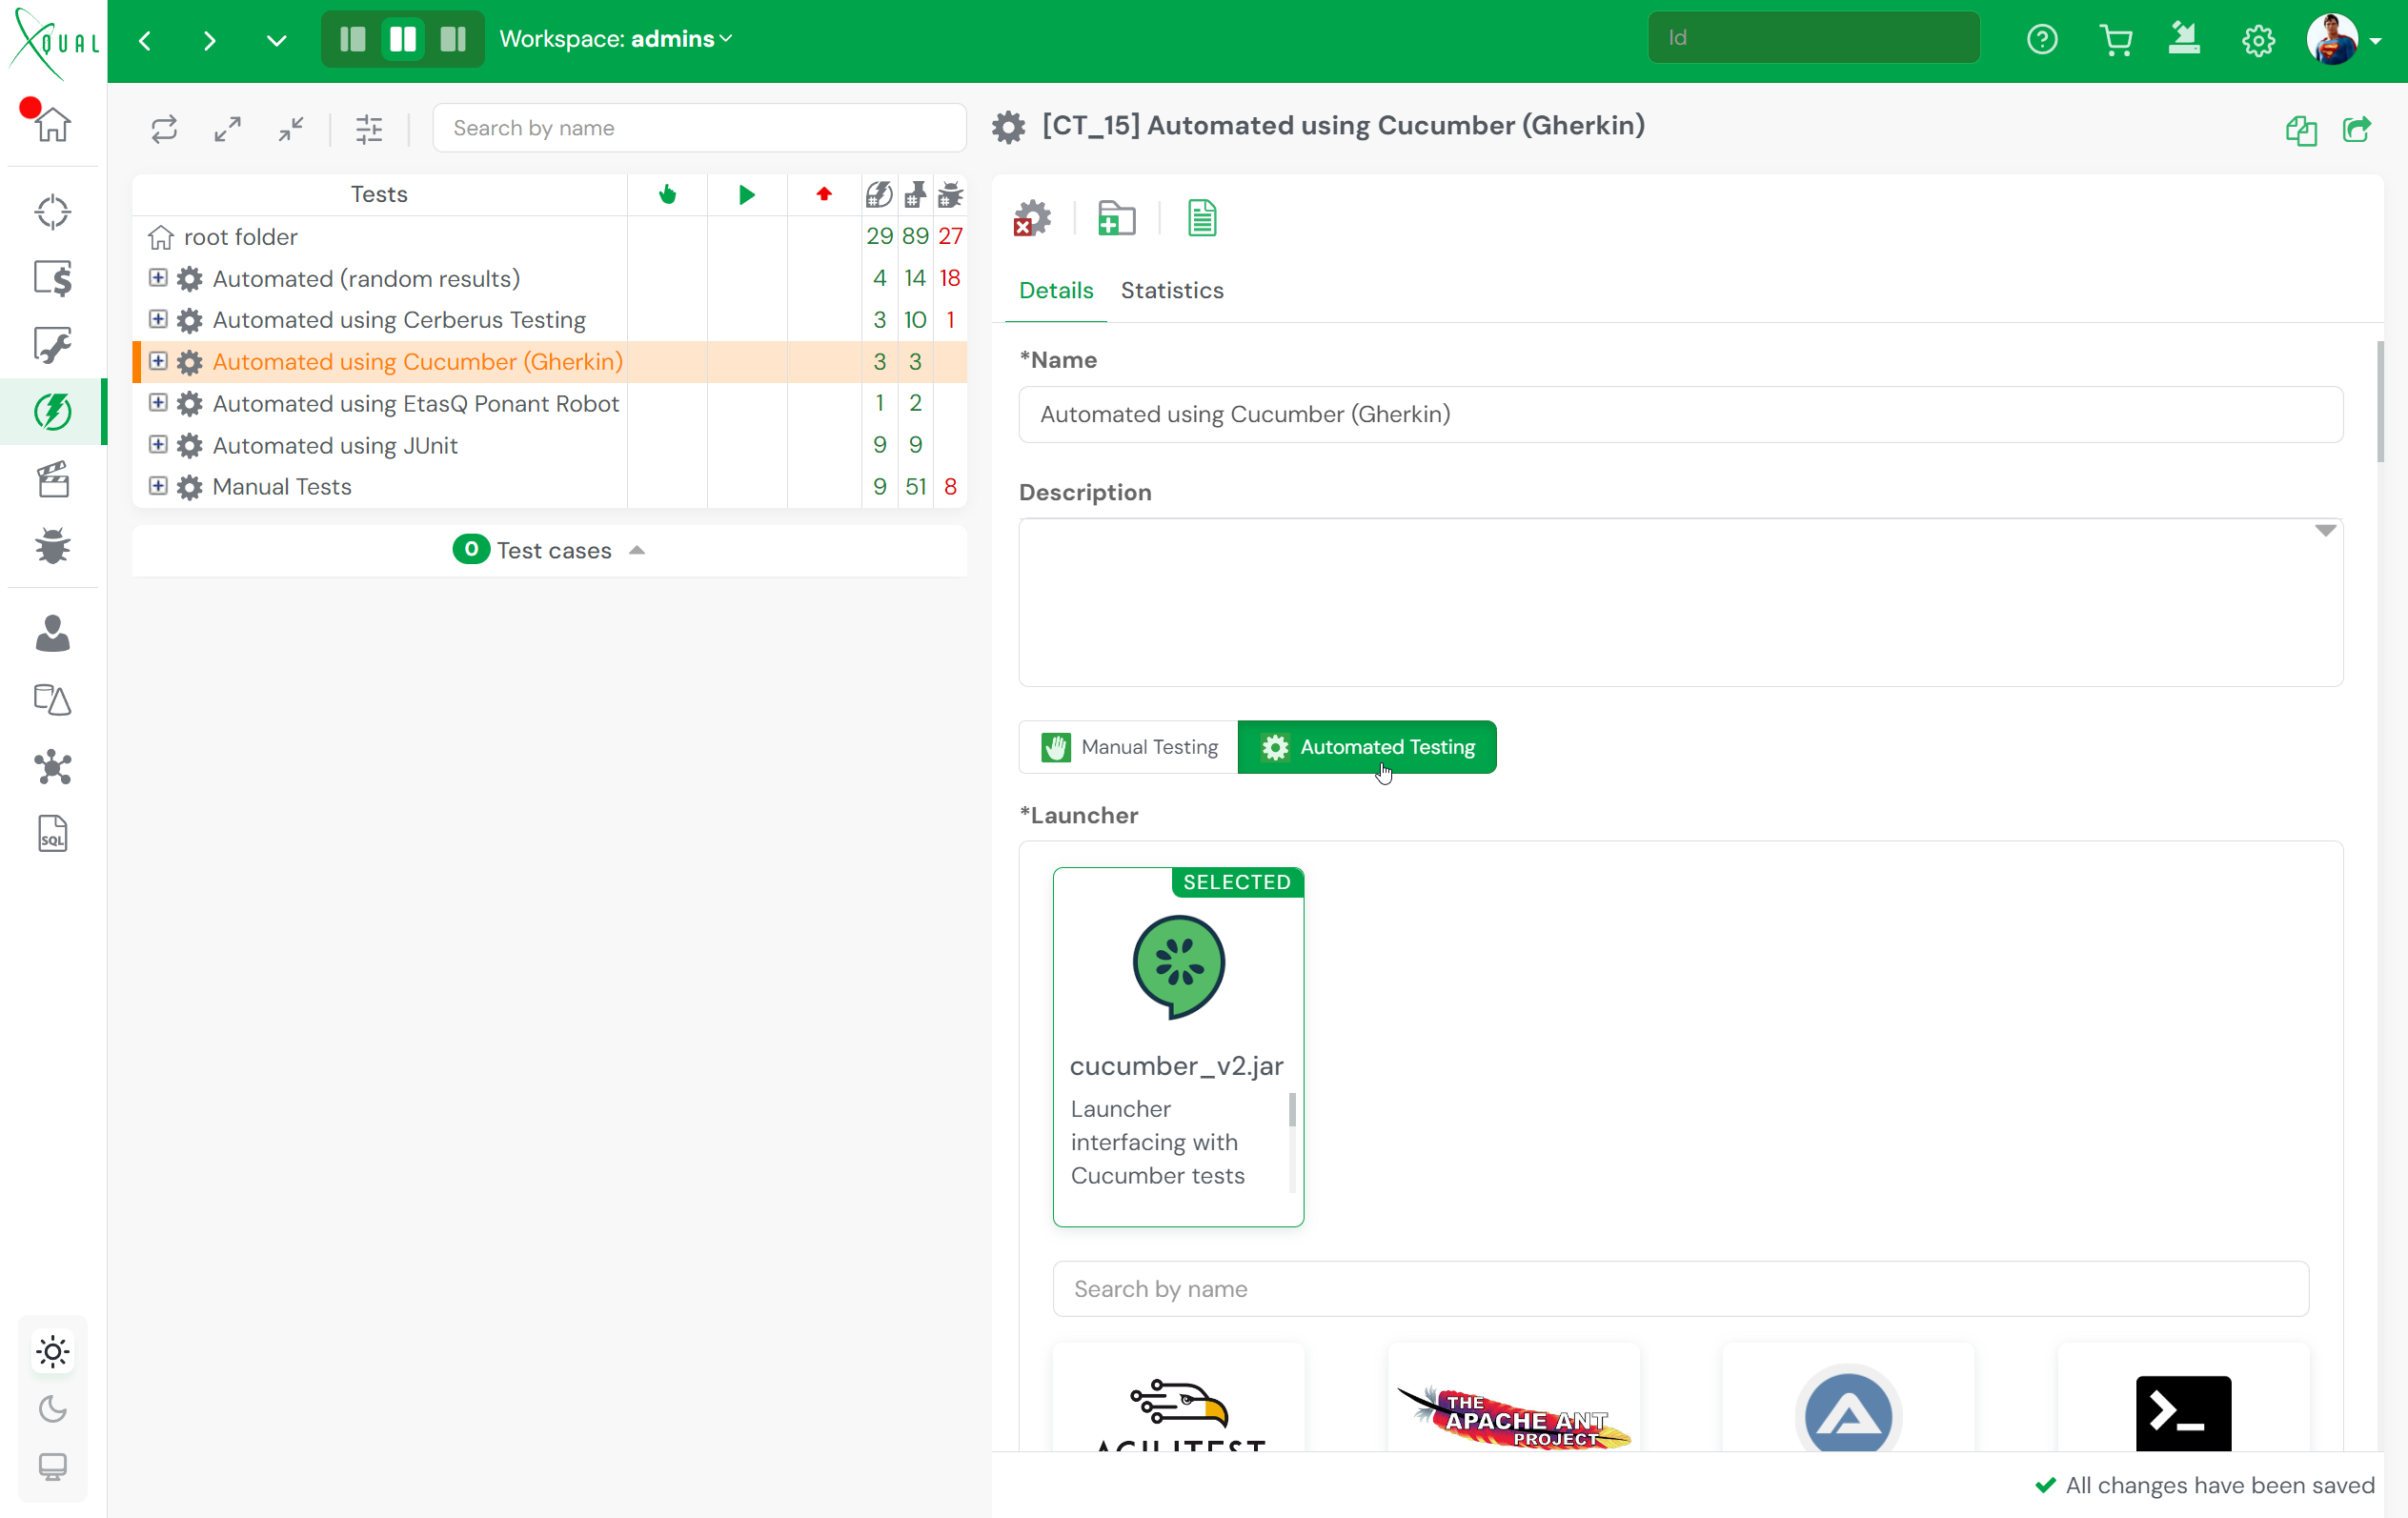
You will then need to reference your tests in XStudio.To do this, you must first create a category in XStudio's Tests module.
When creating or updating the category, you will be able to select a launcher corresponding to the automation framework you chose:
The next step is to create a folder structure to host your tests.
A test cannot be stored directly under a category; you will need at least one folder within the category.
Note that the folder structure does not need to match the physical structure hosting the actual tests.
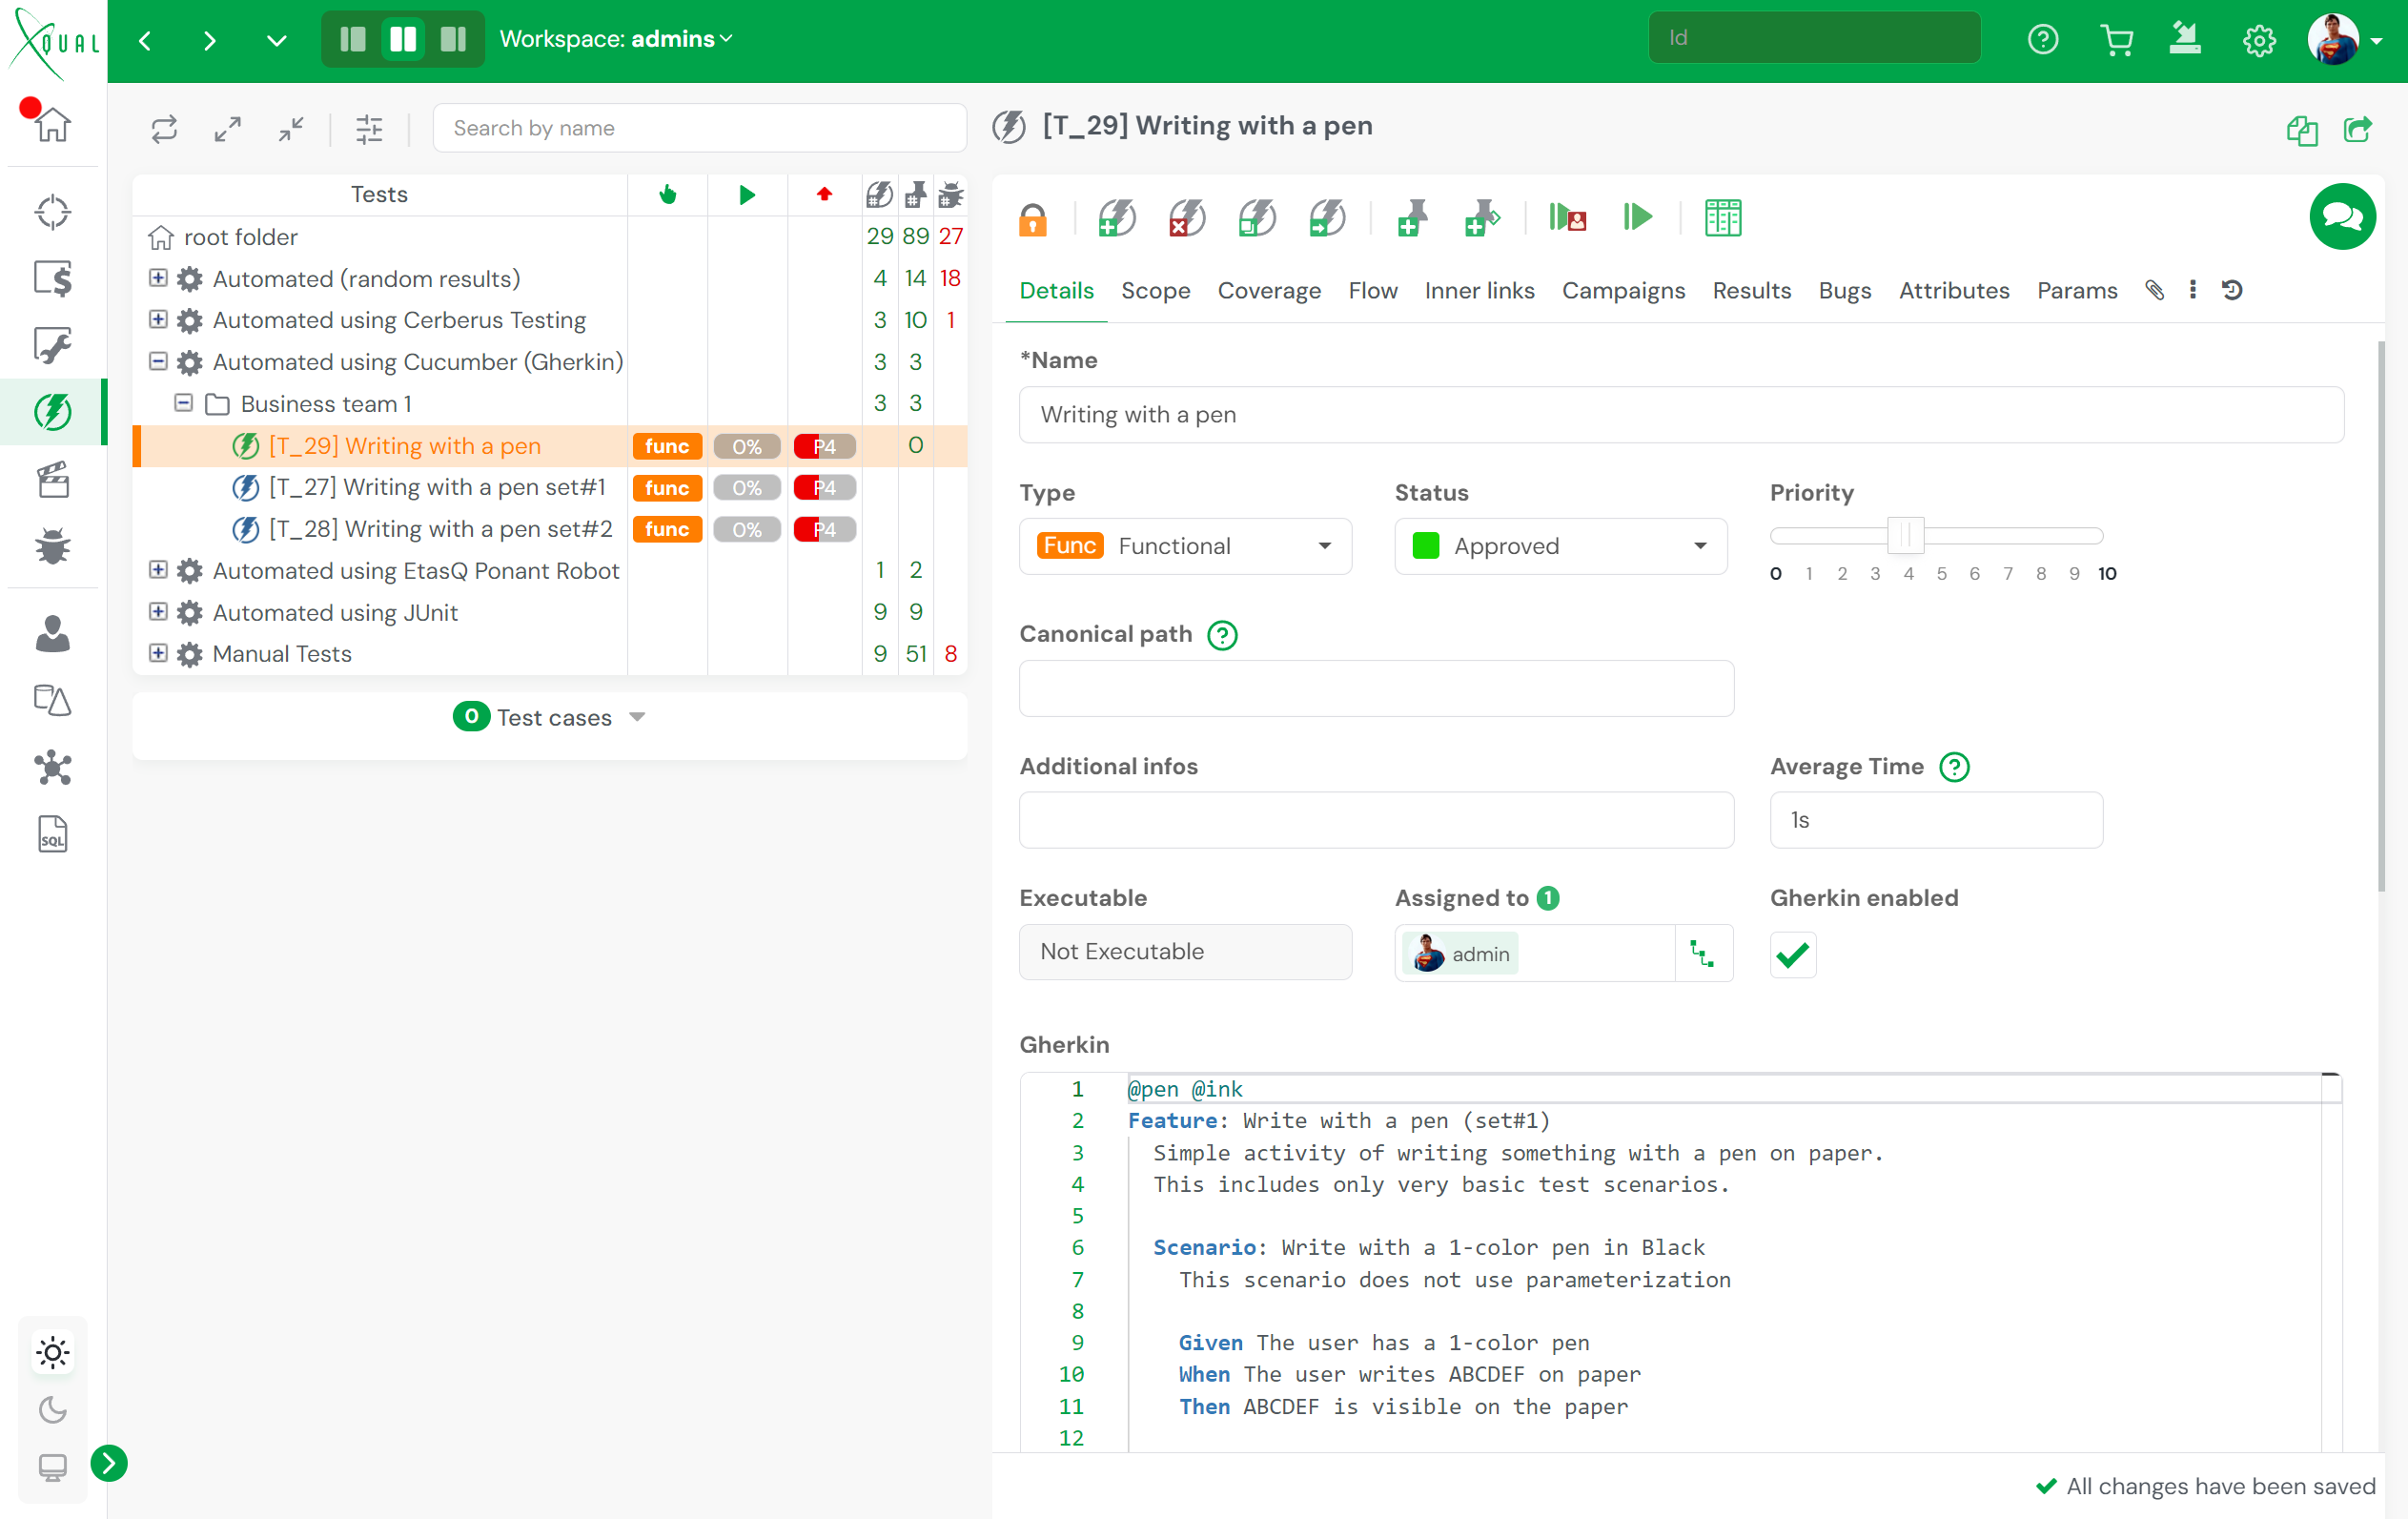
Finally, reference your tests in XStudio, naming them using the same name as the physical test script.
Start an agent
XStudio is a web application and, therefore, as any web application it cannot access resources on your computer, preventing it from directly executing tests.Instead, tests are executed on agents, which can be any computer on your network. The agent is responsible for hosting the tests and the test automation framework. In other words, you should be able to manually start the automated tests on that computer. If that's not the case, ensure this is before continuing.
The only initial requirement for an agent is to have Java JRE 7, 8, or 9 installed on that computer and XAgent running.
XAgent is a small Java program provided by XQual. It can run in the background on the computer, and you can have multiple agents running without incurring extra costs.
There are two ways to run XAgent.
Using JNLP
The simplest solution is to start XAgent in Java Network Launch Protocol (JNLP).To do this, open a browser and navigate to
http://<your xstudio server>/xqual/xstudio (without '.web' at the end!) and click on the XAgent button:
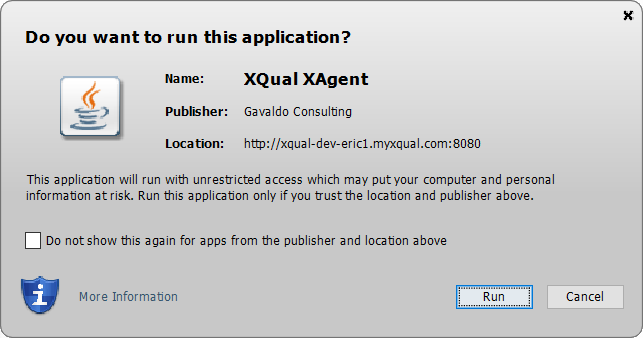
This action will download a JNLP file:
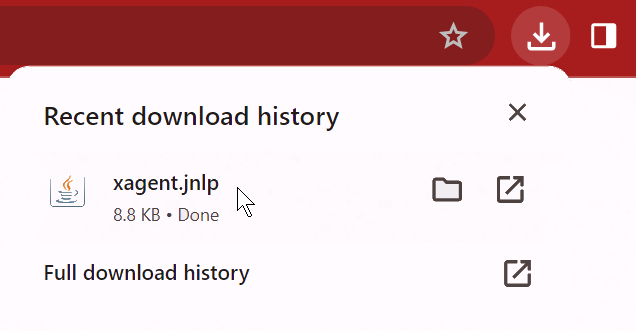
that you can run using Java WebStart:
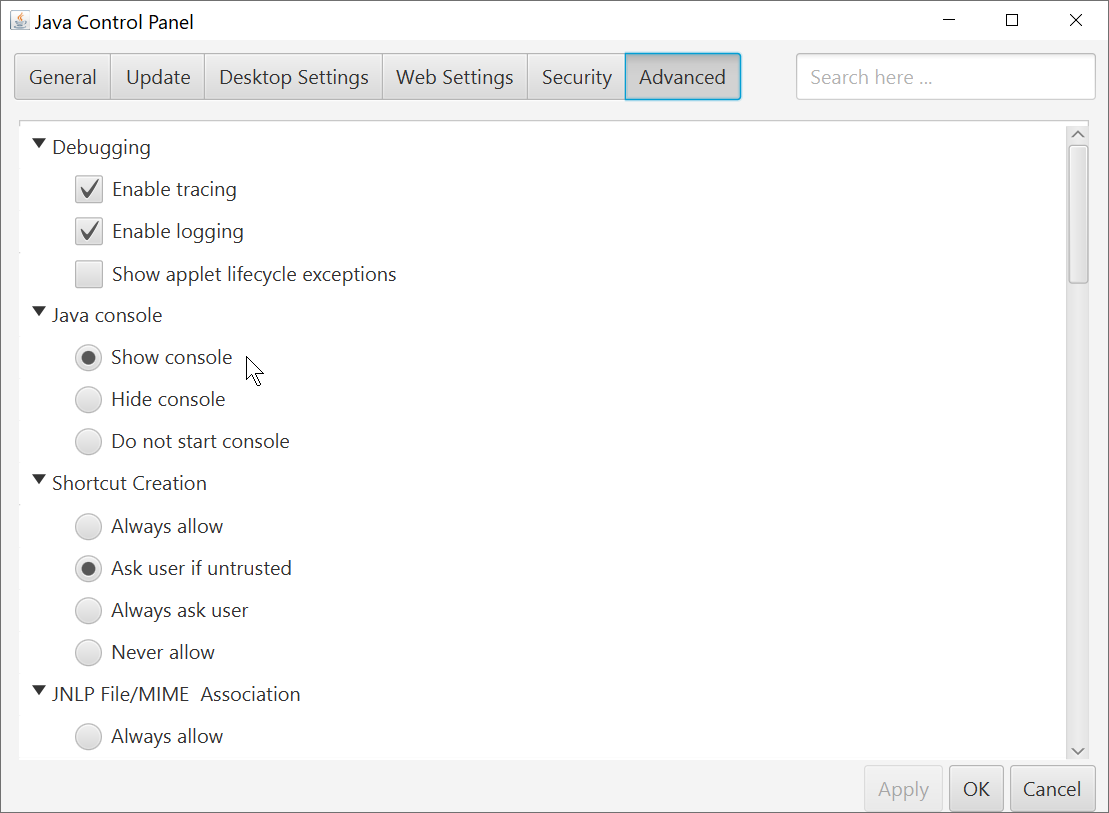
For the initial run, it's advisable to display the Java console to debug the execution of tests on the agent.
To do this open the java configuration program and activate the "show console" option:
Windows > search for "Java" > Configure Java > Advanced > Java Console > Show console
Fat client
Alternatively, you can manually install XAgent by following these steps:- Download the XStudio fat client for Windows or for Linux/MacOSX from this page: https://www.xqual.com/download/download.html
- Install the XStudio fat client
- Copy all the *.conf files from your XStudio server to the installation folder, located near the
xagent.exeexecutable - Start
xagent.exe
To do this, start
xagent_console.exe instead of xagent.exe.You should see a small user interface displaying some basic information.
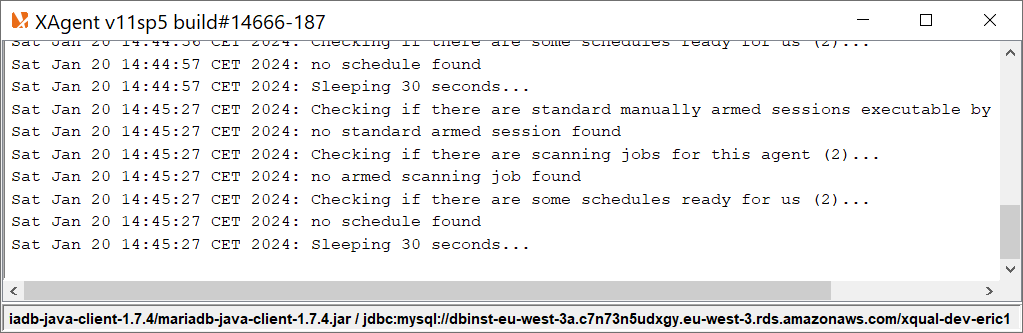
If you activate the console, an additional popup will appear, including detailed traces of XAgent:
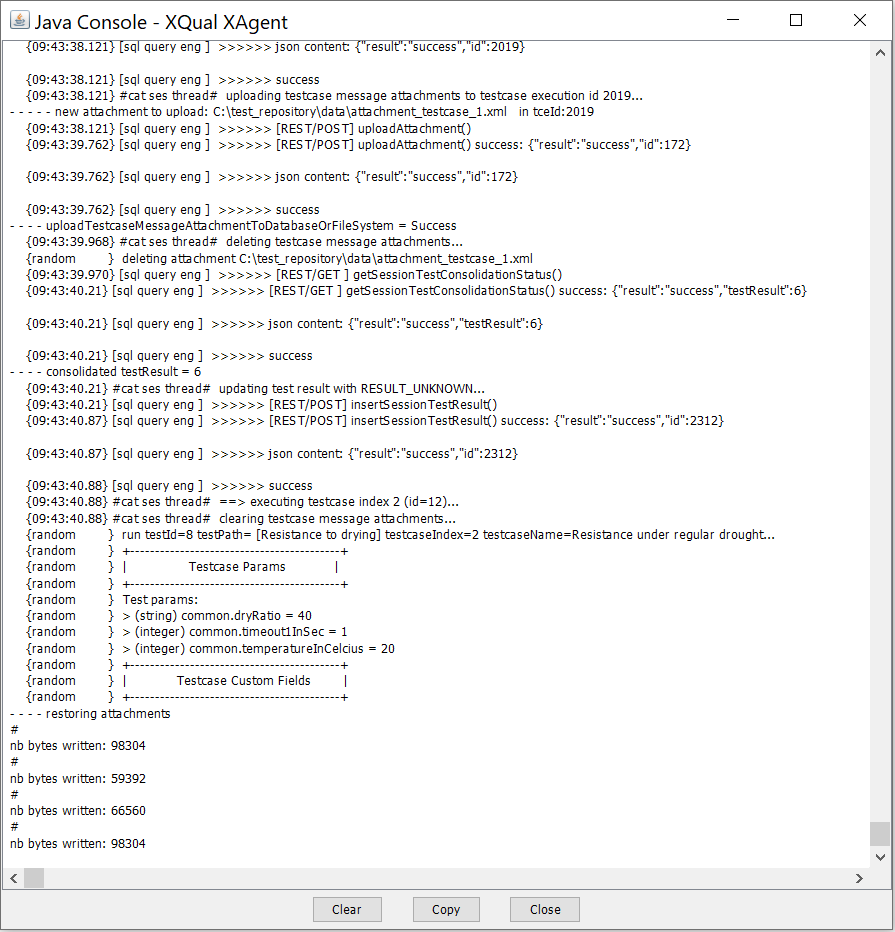
These traces will be very useful for debugging your configuration.
Verify that the agent is accessible from XStudio
Return to XStudio and navigate to the Agent module in the sidebar:Ensure that the agent you just started is now displayed in green, indicating the 'available/online' status.
The name of the agent corresponds to the computer name on the network.
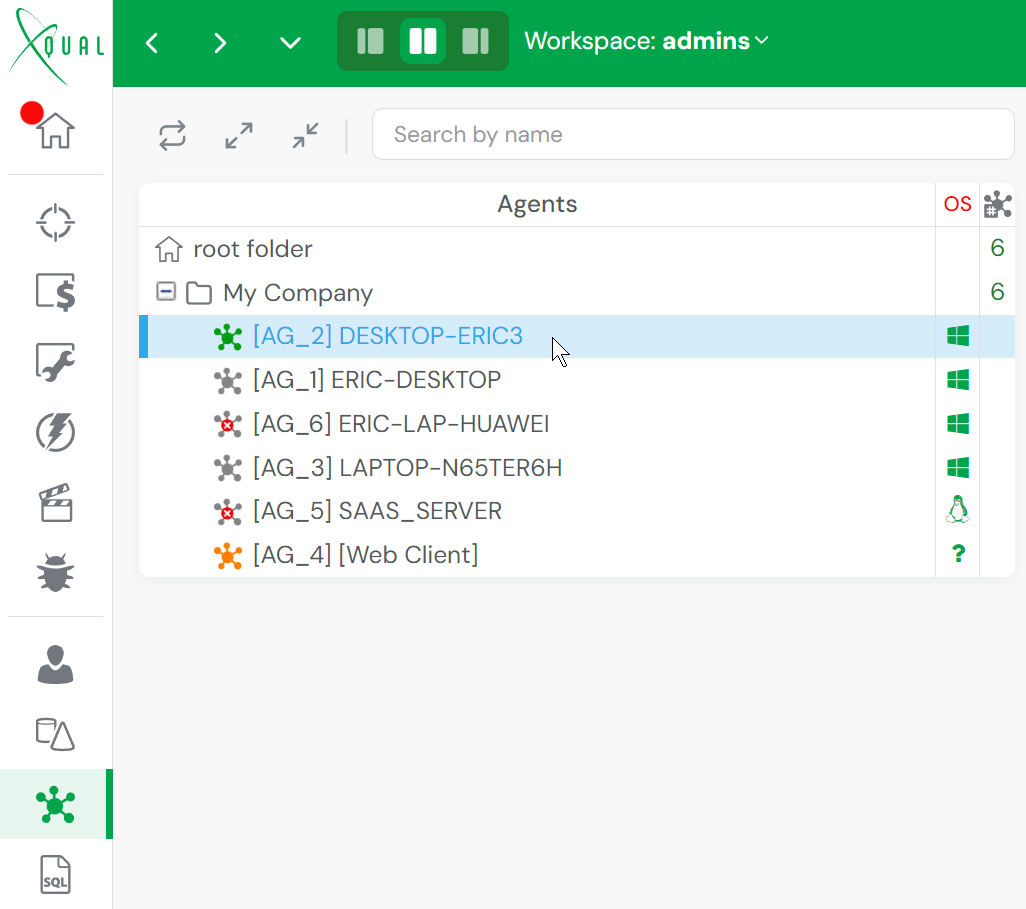
Refresh the tree if you don't see it.
Create your first campaign
Next, create a campaign that includes the tests you previously referenced:Create a session and your first configuration
Select the campaign and create your first session.In the session, you'll need to create a configuration specific to the launcher you chose. This configuration will be used by the launcher to execute the physical test scripts. Each launcher has its own configuration template.
Refer to https://www.xqual.com/documentation/launchers/introduction.html for details (search for the launcher you're using in the left bar).
Execute the session
Initiate the session by clicking on the 'play' button:Check the execution on the agent
Return to the agent and observe the console.It should take a maximum of 30 seconds for the agent to recognize it has a job to execute and start running the tests.
If the configuration is incorrect, you'll see detailed information in the console about how the launcher attempted to execute the tests locally based on the provided configuration.
If there is an issue, it will be easy to identify the source of the problem and correct it in your configuration.